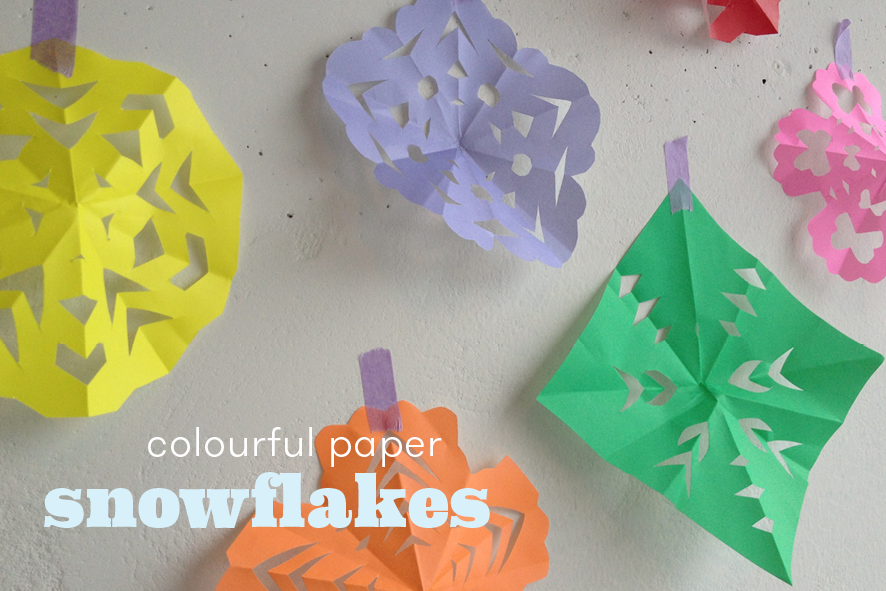
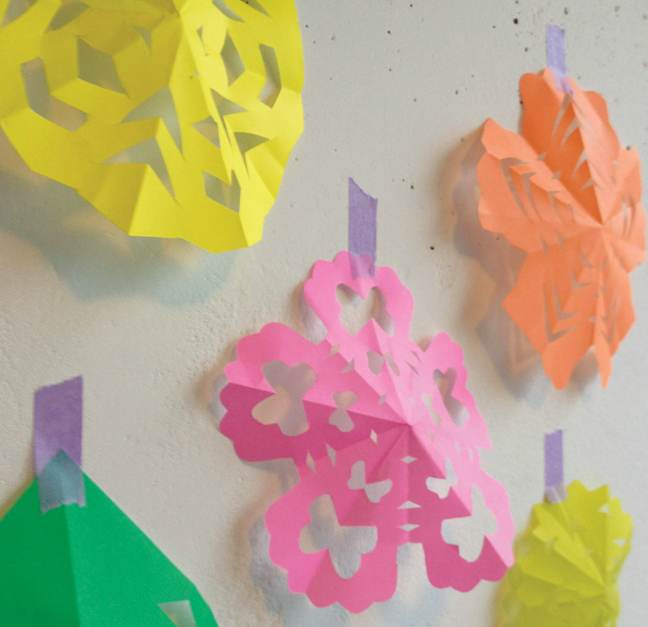
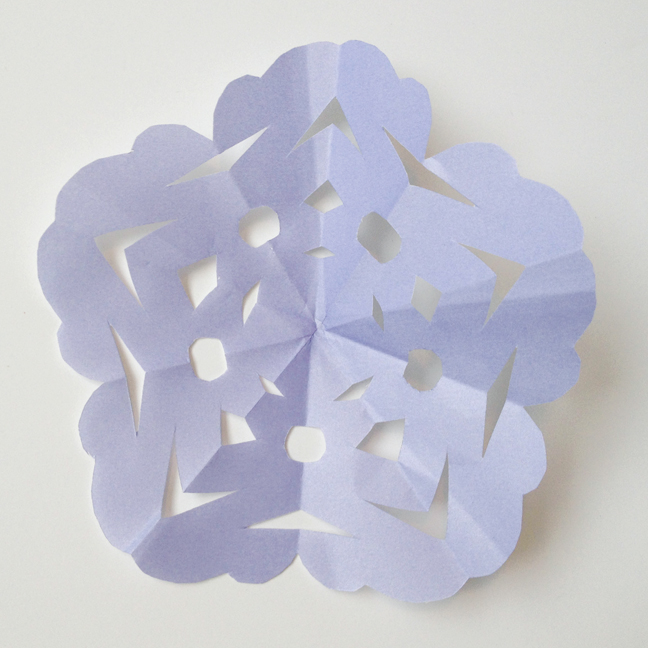
5-point paper stars are easy and you can let even young children cut shapes out of the sides. It's impossible to cut the shapes incorrectly — it will always look good as far as I can tell. Some of ours went terribly wrong and we thought they looked like masks (I didn't photograph them). If you use brightly coloured origami paper it will also add a little colour into early December. There is a really good tutorial diagrammed at howaboutorange. I quickly photographed the sequence here. This is a purple one, for Chinook.
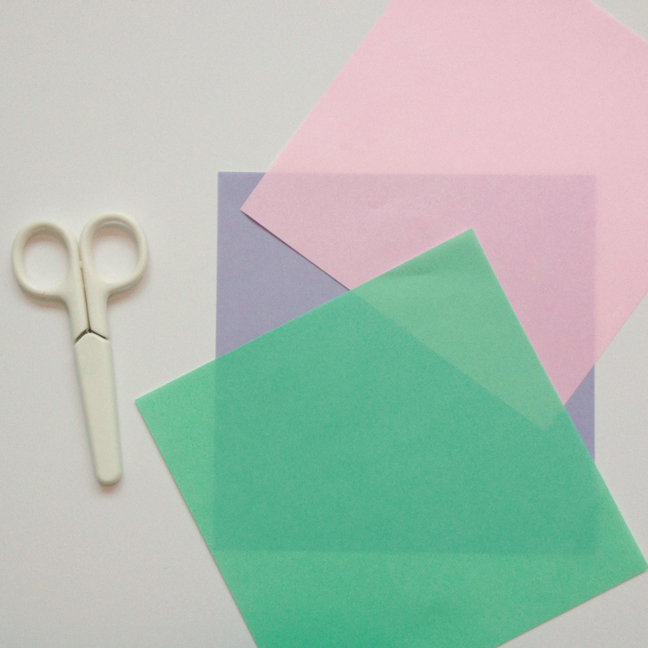
materials: square paper, scissors
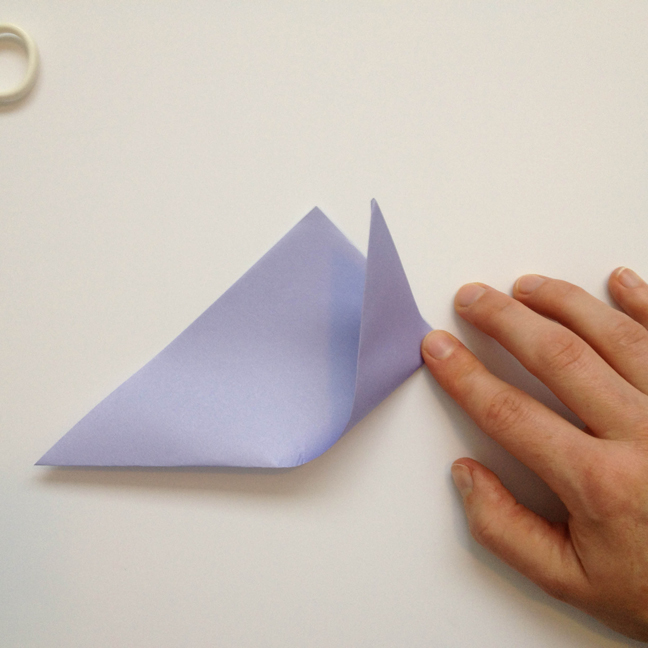
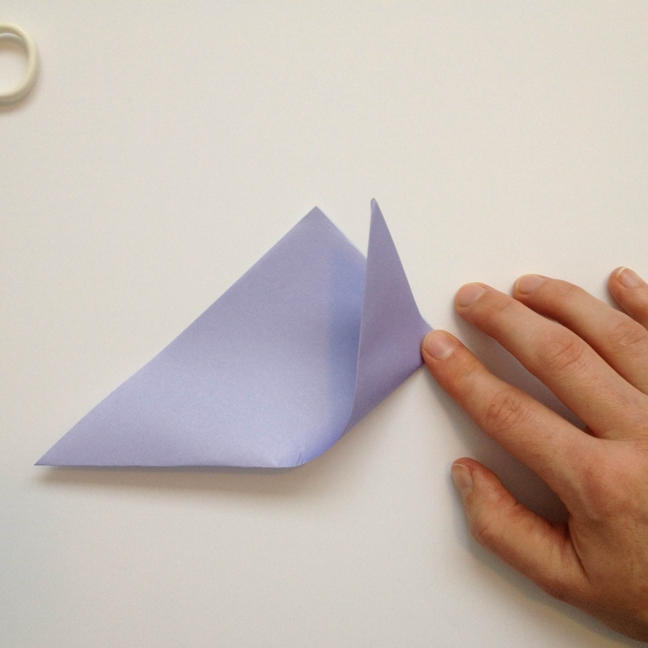
lay paper coloured side down, turn so it is a diamond and fold the bottom point to the top to make a triangle (pictured)
begin folding the triangle in half by folding the left point to the right point. do not complete the fold, just press down on the bottom to make a crease. unfold.
fold the right point up to the top point and make another small crease. unfold.
now fold the top point of the triangle towards this second crease, making a third crease at the midpoint. you will now have 3 creases.
next, fold and crease the right point of the triangle up to crease #3 (so the fold line is from point #1 to #3)
then fold the left point of the triangle so that the bottom matches the angle on the right side (imagine folding the green line so that it lines up with the orange line)
Now fold the whole thing in half, through the centre of the top point (the yellow line in the image above indicates the fold line)
if you turn it over it looks like this:
now cut a shape below the blue dotted line — it can be any shape. the brown lines are just examples. even very young (three and four) can do this part if you help them by holding the paper and make sure their fingers are out of the way
then cut little shape out of the sides (children can also do this part)
unfold it. if a young child tears it, it's ok, you can tape it up. this is the fun bit where you find out what shape you made. there are templates online, but we found that the surprise was much more fun.
